Archive for January, 2013
Tweaking JabRef in Ubuntu
Posted by cheshirekow in Ubuntu on January 29, 2013
A couple of months ago I switched from using Mendeley to JabRef. JabRef is a lot less pretty and lacks a lot of the features of Mendeley, but it a much more solid piece of software. I particularly love that it works with a native bibtex file as a backend, so I can keep my bib file under version control, check it out as a git-remote/svn:external in my latex projects, and have a use the same cite keys in all my documents.
There were a couple of annoyances that I had with JabRef that I managed to work around so I figured I would document them here.
Look and Feel
The “native” java look and feel has all the aesthetic bells and whistles of a 90s era unix desktop, and drives me nuts. Luckily, jabref allows you to specify the look and feel class in it’s advanced preferences. Got to options->preferences->advanced and check “Use other look and feel”. I use the Gnome desktop so I set this to com.sun.java.swing.plaf.gtk.GTKLookAndFeel and now Jabref looks like it belongs.
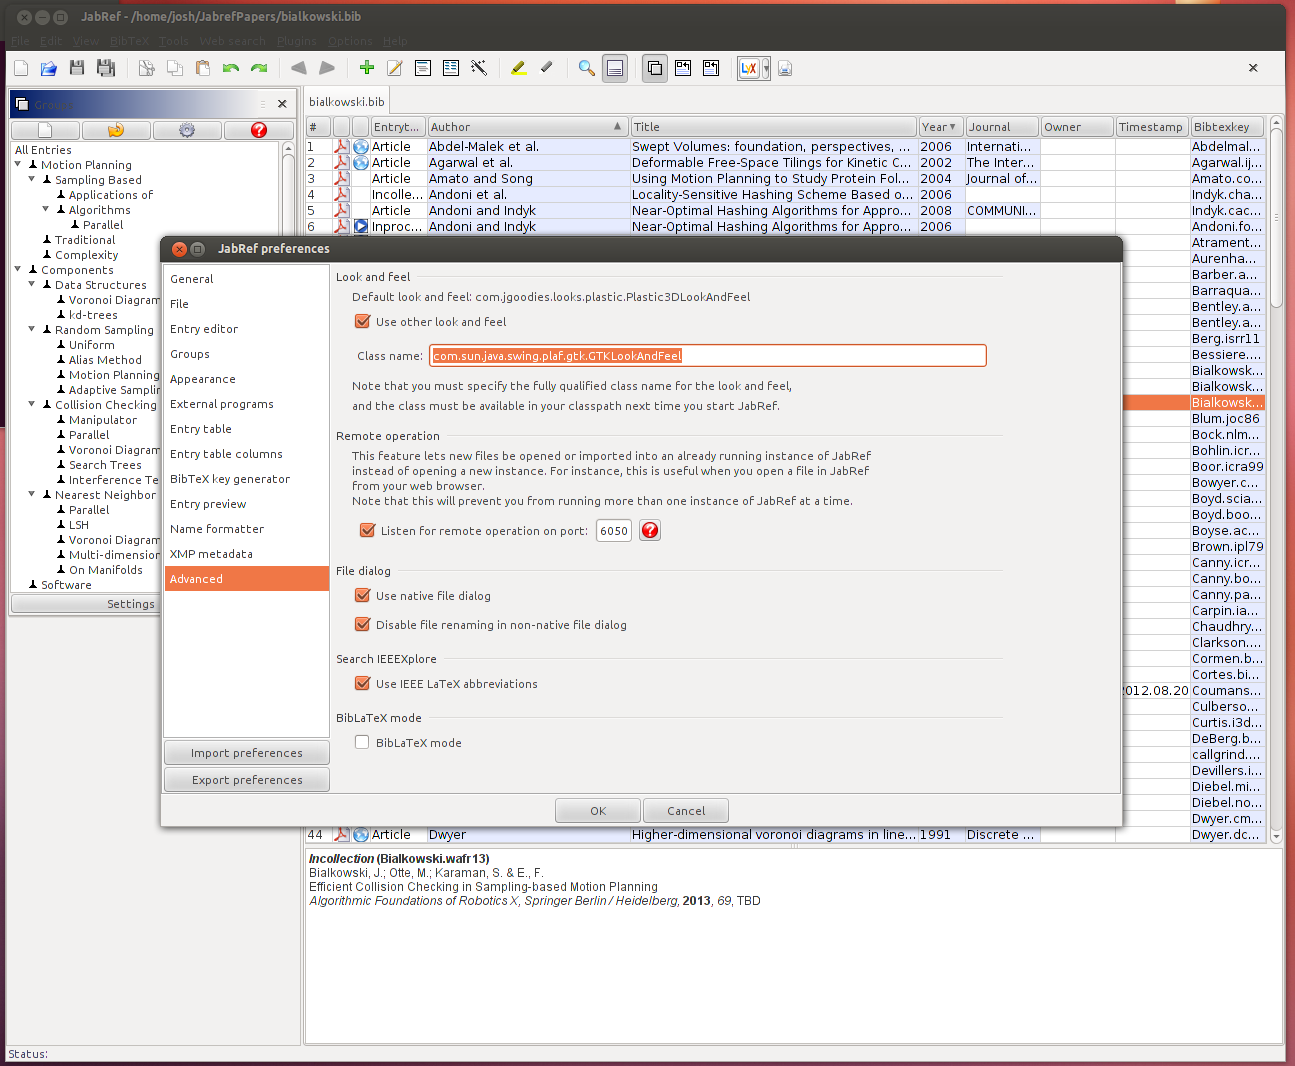
JabRef with GTK look and feel
Tiny Treeview for Groups
I like to organize my references (rather than simply search for them) to help me find multiple references for a similar topic. JabRef, however, limits you to only 10 or so rows in the treeview for groups. I found this to be rather frustrating. Unfortunately, you can’t change the number of rows dynamically (by clicking and dragging) but there is an undocumented preference entry which sets the number of visible rows. Start by going to options->preferences and the clicking “export preferences” to export a preference file for JabRef with all your current preferences. Save it as a .xml file. Now open that with your favorite text editor and add the following entry within
<node name="jabref"><map></map></node>
<entry key="groupsVisibleRows" value="30"/>
Feel free to change “30” to whatever you like. Now the groups treeview will be a bit larger and more useful. Also, take a look at all the other preferences which you didn’t know jabref had and feel free to play around with them to tune your jabref experience.
A better analogy of net-neutrality
Posted by cheshirekow in Opinion on January 23, 2013
I recently saw a post on slashdot about “Why you’ll pay for netflix even if you don’t subscribe to netflix”. The source for this claim is a fox news article and an opinion piece on a random thinktank website.
Basically these article are just spewing some of the same old anti-neutrality arguments using Netflix and Open Connect as an example… but these arguments really drive me nuts because they don’t make any sense at all. Consider the following argument from the foxnews article:
Tim Hanlon, a digital media consultant at The Vertere Group, says “bandwidth hogs” like Netflix should pay more for using the infrastructure than smaller companies. Everyone can drive on the highway, after all, but an 18-wheeler with a commercial load has to pay more in fees.
No, that’s not how the internet works. When I watch a movie on Netflix, my computer runs a program which opens an internet connection and asks Netflix to send me movie bits. Netflix is polite enough to then respond to my request by sending those bits over the connection I created. Netflix isn’t a bandwidth hog, it’s users are.
The road network analogy is getting really old. See, a better analogy goes like this: When I ask Netflix to watch a movie, it’s a lot like driving to the store. I drive to the store in the car I paid for on the road network that my tax dollars pay for. If I want to get there faster, maybe I take a toll road and pay some extra money. If I want faster internet, I pay Comcast more money. Saying that Netflix should pay more because they’re driving 18-wheelers is ridiculous because Netflix isn’t driving anything. They don’t try to send movies to random machines all over the internet which aren’t asking and “clog up the pipes”, they send bits in direct response to a request. When I look at my server logs, among the things I don’t see are a bunch of Netflix-owned IP addresses sending me random pieces of movies I didn’t ask for.
Saying that Netflix should pay ISPs for their content because people ask for a lot of bits from them, is like saying that IKEA should pay the federal government because everyone who goes to IKEA buys heavy things and wears more on the roads then people who drive to work without a 400 lb steel filing cabinet in their trunk.
Actually, it’s even more ridiculous. See an ISP is really like the entire vehicle transport industry all rolled into one. Saying that an ISP should be allowed to charge companies for distributing profitable content is like saying that Ford should be allowed to charge IKEA because people use ford trucks to get things from IKEA. In fact, they should be allowed to charge grocery stores more than IKEA because people buy stuff from grocery stores more than they buy stuff from IKEA. Ford should be able to charge any brick and mortar business in proportion to the amount of stuff that people buy at that business because Ford’s customers use their product to go to these shops and get stuff. Gas companies should be allowed to charge them too because people use gas to go to stores.
..ridiculous.
Now, let’s consider this argument
“Instead of raising the price of its own service to cover the additional costs, Netflix wants to offload its additional costs onto all Internet consumers,” Campbell told FoxNews.com. “That’s good for Netflix and bad for everyone else in the Internet economy.”
No, they want to offload the costs on consumers who want to pay more for the very large bandwidth required to use the new service. Which they should.
“If ISPs raise prices due to the extra costs of Netflix’s new service, ISPs would have to raise prices for all subscribers,” Campbell told FoxNews.com. In other words, Time Warner can’t pass on the cost only to Netflix subscribers; every Time Warner customer would have to pay more.
I’m glad foxnews isn’t my ISP. That’s is the most ridiculous business tactic I’ve ever heard. Let’s think about this. I’m running an ISP and netflix has offered me this deal. If I host some servers which store netflix movies then my customers can access those movies directly from those servers meaning all of that traffic is over physical wires that I own. If I dont host these servers than when my customer wants netflix bits I have to pay to have those bits sent over wires that I dont own. Making the deal with neflix will increase my profits if the amount of traffic that I’m not paying for is greater than the cost of installing the extra infrastructure. If I choose to increase prices for my other consumers, it won’t be because I have to.
“While they call it ‘Open Connect,’ Netflix is actually closing off access to some of its content while seeking unprecedented preferential treatment from ISPs,” a company spokesman told industry magazine Multichannel News.
Nonsense. They are offering a service to their customers which sends lots and lots and lots of bits only if their internet service provider has a system setup to actually get that many bits to their user. If they offered that service to everyone, then that would be setting up a program whereby their consumers would be asking for more bits than the connection can actually support. What they are doing is providing a way to deliver content which surpases the average capability of the internet
For Campbell, the problem is that Federal regulations prevent ISPs from charging Netflix subscribers for the costs of its VIP lane.
No they dont! Federal regulations allow ISPs to charge users of more bandwidth more money than users of less bandwidth. Netflix bit’s are no different than the bits that my machine has sent in order to deliver this page that you requested. Or perhaps foxnews believes that Comcast is in violation of Federal regulations.
Lastly
“There will be higher prices for everyone and the potential for fewer choices of video streaming services in the future as Netflix consolidates its dominance in the market,” he says.
Seriously? No. Shut up. Netflix is sharing their hardware designs and open source software components… meaning that once an ISP adds infrastructure to support Open Connect, any competing video streaming service (or even non-competing ones) can utilize that same infrastructure to solve the same problem.
Honestly now… this is driving me crazy.
P.S. I got rid of Netflix because they never made a Linux client. Also because the streaming selection sucks. Also, pay more for Netflix in HD? No thanks… I’m pretty sure I wont like trailer park boys regardless of how many bits they use to send it to me.
P.P.S. Amazon’s streaming video service supports Linux. Thanks Amazon.
HTC Incredible 2 USB charging port repair
Posted by cheshirekow in Projects on January 8, 2013
So I happened to come across a broken HTC Incredible 2. My sister had replaced it with an iPhone when the Incredible stopped charging. She had taken it back to the Verizon shop where they tried replacing the battery but it still wouldn’t charge. It seems like such a waste to throw away such a fine piece of hardware which clearly works but can’t recharge the battery.
Long story short, a lot of people have had a similar problem and had success by simply replacing the USB chargin port of the phone. As it turns out the repair is not even that difficult. The phones design is incredibly modular, with everything connected to the mainboard by ribbon cables. In this post I document the process of disassembling the HTC Incredible 2 and replacing the USB charging port.
The part I ordered was For HTC Incredible S II 2 Charging Charger Port USB Dock Connector Part Repair. The cost was $9 shipped and it came with a screwdrive and plastic pry tool.

The phone, the replacement part, and the tools that come with the part.
In addition to these tools, I also used a pair of tweezers, an exacto knife, and a very small phillips screw driver. Start by removing the outer cover. This can be done with the plastic pry tool or a coin, or a credit card with one corner shaved down a bit. There is a little tab at the bottom of the phone to get you started.

Start by removing the thin protective backing.
Then remove the battery and the simcard. These are pretty easy, just take them out.

Then remove the battery.

Then remove the simcard by pushing down on the little tab.
Now there are seven (7) star screws to remove in order to get the inner housing cover off. One of them is covered with a green “void” sticker (removing this screw will void the warranty, which I assume is already voided). If you dont have a star screwdriver (though one came with my replacement part) a small flathead should work. you can look at the next picture to see where the screws are located.

Use the star screwdriver (or a small flathead) to remove the seven (7) screws that are holding the interior plastic cover.
I used a piece of paper and take to diagram where all the parts came from as I took them off. This is a handy way to keep track of where stuff goes when you put it back together. Anyway, now that the screws are removed we may remove the inner back of the case.

Now use the plastic pry tool (or a credit card with one of the corners shaved down a bit) to pry off the interior case.
For me, the case took some work. Note that the volume rocker switch is a part of the piece we are removing so it is safe to pry under it, however the little piece of plastic over the headphone jack is not part of the piece we are removing, so don’t try to pry it out too. During this process, the USB protective housing and the little rubber cover to what looks like an antenna port came out. I just added them to my diagram so I knew how to put them back.

After removing the interior housing.
Now we can see the (presumable) culprit of the charging problem. The USB charging port has some corrosion on it. I’ve read that many people have had problems charging and that replacing this part will fix those problems. I’m making an $9 bet that this is my problem too.

We can see that the USB port is rather corroded, so hopefully the charging port is in fact the reason the phone will not charge. This is the part we will replace.
Now we have to disconnect two ribbon cables on the right side of the main board. They are covered with some ESD tape. I saved the tape and put it back on when I reassembled the phone. I’m not sure if they’re useful but I figured perhaps they’d relieve some stress on the attach points.

Remove the plastic tape from the ribbon cable.

And from this ribbon cable.
To remove the ribbon cables pop the tab on the back of the attach point. With the tab up, the ribbon cable should slide right out.

Pop the tab on the ribbon cable.

With the tab popped

And on this ribbon cable.

With the tab popped.
Now remove the two small philips screws. One is holding a piece of plastic over the headphone jack. The other is holding the main board onto the case.

Using the small phillips screwdriver, remove the screw that is holding in the board.

Again with the phillips, remove the screw that is holding in the little plastic piece over the headphone jack.
Next we need to pop out the vibrator motor. Once the motor is removed from it’s holder, you may leave it connected to the mainboard. It’s not held in with any tabs so just pull it on out with your pry tool.

Pop out the vibrator motor.

The vibrator motor popped out
Now it’s time to separate the mainboard from the housing. The mainboard is still connected by a ribbon cable on the left side, so lift up from the right side. The board is held down by two attach points. It fits under the headphone jack at the top, and it is clipped in place at the vibrator motor housing. I used the pry tool to separate the board from the clip at the vibrator motor housing, and then pulled slightly downward to remove it from under the headphone jack.

Pry the board from the housing. There are two main attach points: the vibrator motor housing and the headphone jack.

Flip over the board to expose the ribbon cable that is attaching it to the screen assembly.
Now we can remove the ribbon cable that is attaching the board to the screen. In hindsight this is not really necessary since our part is already exposed, but I guess it make things a bit easier later. Start by removing the plastic tape covering the ribbon cable attach point. Then pop the lever, and slide out the ribbon cable.

Remove the tape covering the ribbon cable attach point.

Flip up the lever on the ribbon cable attach point.

With the lever popped.
Now that the mainboard is separated from the housing we can remove the USB port. It’s just another ribbon cable so remove the tape, flip the tab, and slide out the part.

Remove the tape over the ribbon cable for the USB port.

Pop the lever on this ribbon cable

With the lever flipped.
The we simply swap in the new part. Insert the ribbon cable, make sure it’s snug inside the attach point, then close the tab.

Remove the old charging port. Dont get it confused with the new one.

Insert the ribbon cable for the new port, make sure that the new port is facing the right direction.

Close the lever on the ribbon cable attach point.
Now we reattach the mainboard to the housing by the big ribbon cable on the left (screen?). This was a bit tricky since the ribbon cable is kind of short. I had to pull a five finger maneuver to get the thing in a position where I could insert the cable without it sliding back out. Once the cable is in, close the tab.

Reconnect the ribbon cable from the screen assembly to the main board (a bit tricky).

The mainboard with the ribbon cable reattached.
Now simply flip the mainboard back over so that it is lying on the housing. Check the camera to make sure it didn’t slide out. Mine had slid out and was sitting at a funny angle so I had to shift it back into place. Also make sure that the two small ribbon cables on the right side are pulled out and aren’t buried under the mainboard.

Fold the main board back onto the housing. Make sure to pull out the two small ribbon cables so that are not under the main board.
Now we can snap the mainboard back into place, and return the vibrator motor back to it’s home.

Reinsert the vibrator motor.
Now screw back in the two phillips screws. One holds the plastic cover over the headphone jack, and the other holds the mainboard onto the housing.

Reattach the plastic cover for the headphone jack using the phillips screw.

Screw the main board back into the housing with the other phillips screw.
Now we reattach the small ribbon cables on the right side. Slide them into the attach point, close the lever, and then replace the tape (if you like).

Reattach the small ribbon cables.
Now we can snap the cover back on. Start by replacing the USB port cover. This fits into the housing by two tabs that are under the port. Replace the rubber cap on the left side if it fell off. Also return the volume rocker to it’s place inside the back of the housing (the part that you took off) if it fell out.

Replace the USB port housing

Replace the little rubber cap for whatever it is that it covers (antenna port?)

Insert the volume rocker back into the inner housing cover (if it fell out when you removed it)
Then simply snap the back of the housing into place, and screw all the screws back in.

Snap the inner housing cover back on and screw it back in.
Now you can replace the battery, simcard, and outer cover.

Replace the simcard, battery, and outer cover.

c’est fini
Plug in the phone, and if nothing starts sparking/smoking perhaps you have indeed fixed your problem. Not that this is proof, but the phone now at least tells me it’s charging the battery. We’ll see if it ever gets to 100%.

Ah, the sweet taste of success.