Archive for category Ubuntu
Tweaking JabRef in Ubuntu
Posted by cheshirekow in Ubuntu on January 29, 2013
A couple of months ago I switched from using Mendeley to JabRef. JabRef is a lot less pretty and lacks a lot of the features of Mendeley, but it a much more solid piece of software. I particularly love that it works with a native bibtex file as a backend, so I can keep my bib file under version control, check it out as a git-remote/svn:external in my latex projects, and have a use the same cite keys in all my documents.
There were a couple of annoyances that I had with JabRef that I managed to work around so I figured I would document them here.
Look and Feel
The “native” java look and feel has all the aesthetic bells and whistles of a 90s era unix desktop, and drives me nuts. Luckily, jabref allows you to specify the look and feel class in it’s advanced preferences. Got to options->preferences->advanced and check “Use other look and feel”. I use the Gnome desktop so I set this to com.sun.java.swing.plaf.gtk.GTKLookAndFeel and now Jabref looks like it belongs.
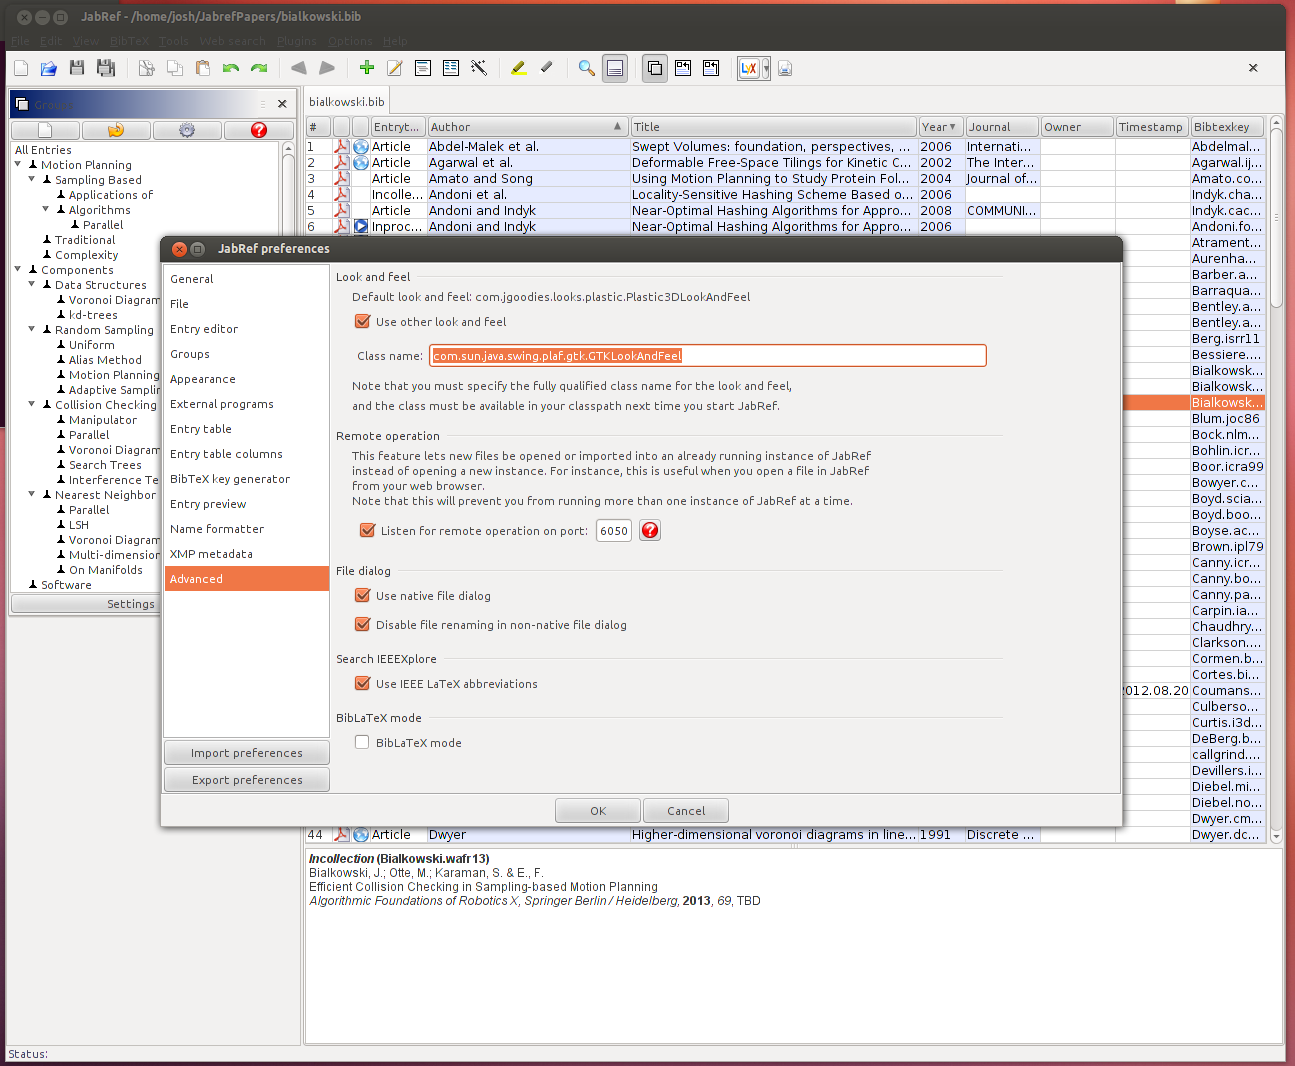
JabRef with GTK look and feel
Tiny Treeview for Groups
I like to organize my references (rather than simply search for them) to help me find multiple references for a similar topic. JabRef, however, limits you to only 10 or so rows in the treeview for groups. I found this to be rather frustrating. Unfortunately, you can’t change the number of rows dynamically (by clicking and dragging) but there is an undocumented preference entry which sets the number of visible rows. Start by going to options->preferences and the clicking “export preferences” to export a preference file for JabRef with all your current preferences. Save it as a .xml file. Now open that with your favorite text editor and add the following entry within
<node name="jabref"><map></map></node>
<entry key="groupsVisibleRows" value="30"/>
Feel free to change “30” to whatever you like. Now the groups treeview will be a bit larger and more useful. Also, take a look at all the other preferences which you didn’t know jabref had and feel free to play around with them to tune your jabref experience.
Ubuntu Stopwatch Applet
Posted by cheshirekow in Stopwatch Applet, Ubuntu on July 13, 2011
It has occured to me several times that I would like to have a small stopwatch utility with quick access (particularly for time tracking on various projects). I figured the Ubuntu timer applet would have this function, but alas, it did not. To my surprise, there wasn’t any applet in the ubuntu repositories that does this. I decided it would be sufficiently useful to look into writing one myself. As usual, documentation was pretty sparse but I managed to find a good starting point and cobbled together a simple proof of concept. I’d tell you how much time it took, but I didn’t have a handy stop-watch applet for me to time myself.
You can find the code in my redmine here. Compile with gcc or just run make.sh (it’s only one line). The .server file needs to go in /usr/lib/bonobo/servers. It also needs to be edited to point to wherever it is that you put the binary. After moving it, log out and then back in. Right click on the panel you want to add it to and select “add to panel”. You should see “Stopwatch Applet” in the list.

Add To Panel Dialog
It’ll drop the simple applet on your panel. The applet steals the “timer-applet.png” image from the timer applet package so you might need that in /usr/share/pixmaps in order for the entry to show up in your list of available applets. The applet looks like this:
The Stopwatch Applet
There are basically no features. It starts counting when it’s loaded. You can click on it to reset it. I do have some planned improvements for when I get around to it.
- Ability to control multiple timers from one instance
- Ability to choose which timer is displayed in the panel
- Ability to pause/lap/resume by clicking on it (configurable)
Also, just in case you were wondering, I spent a total of 23 minutes and 49 seconds on putting this code in version control, adding the project to redmine, and writing this post.
Emulating Adobe Reader’s Snapshot tool in Ubuntu
Posted by cheshirekow in Ubuntu on June 7, 2011
In this post I presented a simple python script for copying image files to the gnome clipboard. In this post, I’ll show how I use this script with imageMagik to emulate the snapshot tool in Adobe Reader. I originally wanted to use this just for Evince (default Ubuntu document reader) but have found all kinds of situations where it’s handy outside of Evince.
The end goal here is to have a key binding which, when pressed, starts a “selection mode” where any part of the screen can be selected. That selection is then copied to the gnome clipboard so that it can be pasted into a document (i.e. a libreoffice or openoffice document, though I usually use it to paste into Xournal).
The script
Here is the script I use to do just that.
#!/bin/bash #prefix for filename prefix='screenshot'; timestamp=`date '+%d-%m-%y-%N'`; extension='.png'; file="/tmp/$prefix-$timestamp$extension"; import $file python $HOME/Codes/python/imgclip/imgclip.py $file |
The import tool is part of the imageMagik package. It does the screenshot taking part, by changing the mouse cursor to a “selection” tool. It saves the screenshot in /tmp/screenshot_TIMESTAMP.png where the timestamp is generated by the date command. The script then runs imgclip to copy the screenshot to the clipboard. I have this script bound to a command in compiz. The command is
bash $HOME/Codes/shell/screenshot/screenshot.sh |
Here is a screencast of it in action: